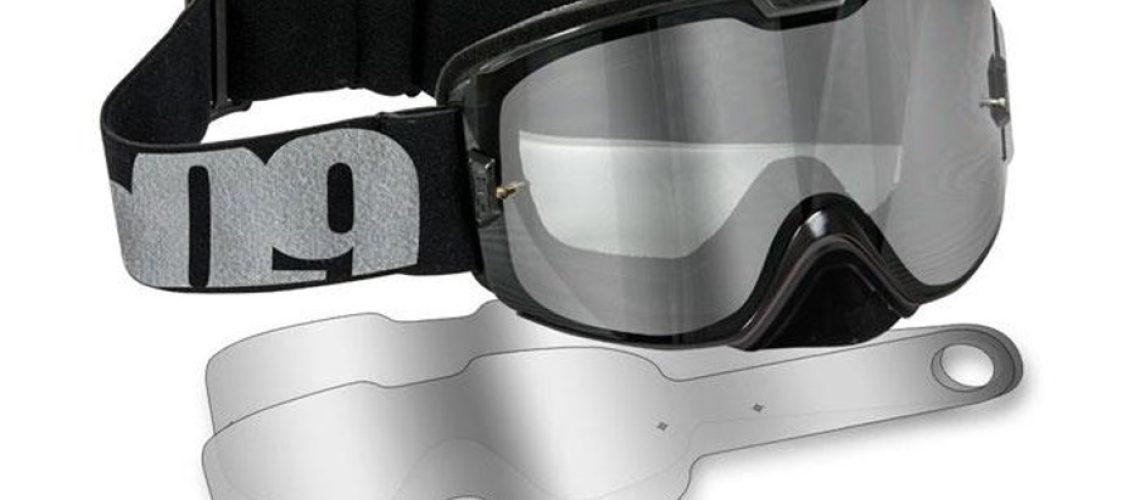
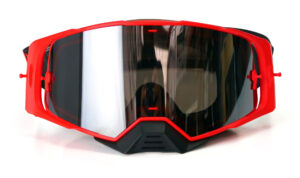
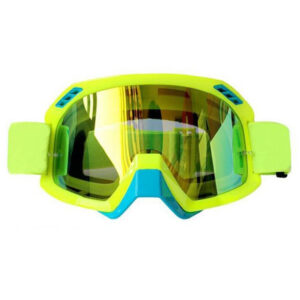
Motocross riders have been relying on tear-offs for years to keep their goggles clean and clear during a ride. If you are new to the sport of motocross and looking for info about how Goggle Tear-Off works and how you can install them, then you are at the right spot.
In this blog, we will give you an easy 3-step procedure to install Tear-Offs on 2 & 3 Posts Goggle, as well as we will explain the difference between standard and laminated sheets. So, keep reading if you wanna know more.
Checklist:
- What are Goggle’s Tear-offs & their Working?
- How to install Tear-offs Correctly?
- Pro Tips & Tricks
1) What are Goggle’s Tear-offs & their Working?
“Tear-Off are simply detachable thin Plastic sheets/films attached to Goggle’s lens to protect them from dust, dirt, rain, stones, or anything that falls on the Goggle.”
Tear-offs are primarily used for dirt or motocross racing, where wet dirt literally showers the whole rider, including Goggles. When the goggles lens gets blocked with dirt, it becomes impossible to see, and the rider may end up in a life-threatening accident on the track or with the adjacent rider.
How do they Work?
- When the lens gets dirty, you can simply grab the extended sheet from the side and tear off the first sheet ( so the name is Tear-offs ). By doing this, a new sheet will come out from beneath, which will keep your vision clear.
- When the second sheet gets dirty, you can tear it off too. And you can keep tearing off the next ones again & again when they get dirty.
- Usually, you can install 4 ~ 30 sheets at one time during a race, which means you have multiple chances to clear your lens.
2) How To Install Goggle’s Tear-offs Correctly?
Tear-offs are an essential accessory for any rider if you want to keep your vision clear throughout a race. Installing them can be a little tricky, but once you know how to do it, they will become as easy as a habit. You can do it in 3-easy steps;

Step 1 – Clean your Goggle
Begin by cleaning your goggles to ensure that there won’t be any scratches on the lens. As the tear-offs will be pressed onto the lens, any dirt or dust can easily cause abrasions. To wash the Goggles, follow the below procedure;
- Disassemble the lens, frame, and strap and dip them in warm soapy water.
- Now, get the goggles out and rinse them under warm water. Use a soft brush on the frame and strap but never use any tool on lenses because they have many sensitive coatings.
- Now clean the lenses with Lens Grade Microfiber cloth. And Assemble the Goggles back again.
You only have to wash with soap and water if your MX Goggles are very dirty. But if they are clean, simply crystal-clean the lens with a microfiber cloth.
Step 2 – Attach the Tear-offs
Now it is time to attach the tear-offs on Goggles, which can be a bit tricky but you can do it easily following our step-by-step guide;
- For Two Posts Goggles:
- Notice there are two extruded pillar-like areas, called Posts, on the right & left side of the lens. Simply take the Tear-off sheet, and pull down its Non-Tab side hole on the right side Post.
- Then stretch the sheet & pull down its Tab-Side on the Left-Post.
- Now, bend the tab of the sheet, and fix its big hole on the Left-Post. And then install the next tear-off sheet the same way.
- For Three Posts Goggles:
If your Goggles have a third post for holding the bent tabs of sheets, then it’s better because it takes away the bent tabs from the lens and gives more peripheral vision. To install it, follow the below procedure;
- Install the sheet as we did earlier on the lens; fix the non-tab side on the right post & tab side on the left post.
- Now, on your sheet, there should be a middle hole in the tab area; push it down the third post. Then bend the tab and fix it on the third post. And keep on installing the next sheets.
It is important to note that the tab side of the Sheets always comes on the right side because you can keep your left hand off the handle and tear off the sheet while still keeping your right hand on the race throttle.
Step 3 – Standard Vs. Laminated Sheets Installation
When you go out to buy tear, you will come across 2-types of tear-off sheets;
- Standard Tear-Off Sheets
- Laminated Tear-Off Sheets
| Standard Tear-Off Sheets | Laminated Tear-Off Sheets | |
| Structure | Consist of Individual Plastic Sheets | Come in Stacks means up to 7+ sheets are mildly glued together with no space between them, not even for air. |
| Thickness | Thick | Thin |
| Installation Limit | After 4 Sheets, vision will start getting Blurry | Can install up to 28 Individual Sheets |
| Install Speed | Very Slow | Very Fast |
| Usage | In Mild Muddy Conditions when you don’t need many chances to clear the Lens. | During Extreme Motocross Racing when you need to tear off sheets multiple times. |
| Price | Cheaper | Expensive |
Installation of Laminated sheets is a bit different from Standard ones, and you can do it this way;
- Fix the Laminated Sheets on the lens right & left post just like the Standard sheets as we did above.
- As you know, Laminated sheets come in packs where 7 sheets are glued together. So when fixing the tab, you need to first separate the tab of each sheet and then fix each one on the post separately. And that’s it. Your Laminated Sheets are installed.
3) Pro Tips & Tricks
Using tear-offs correctly can make a world of difference when it comes to visibility. You can use our pro tips to use tear-offs effectively:
- If your vision is not ok, then lay off a few tear-off sheets because too many can distort the coming light & blur the vision.
- After Installation, always test the first sheet to see if it’s come off fine because you don’t want a stuck sheet during dangerous MX racing.
- Keep an extra tear-off in your pocket. In an emergency, you can easily switch out the tear-offs without wasting time by returning to the pits.
- Two Post Tear Off Sheets have 2 holes, while Three Posts ones have a minimum of 3 holes. Make sure you get the right one before buying sheets.
- To make sure that the tear-offs don’t start fogging up, quickly wipe the inside of your goggles with a microfiber cloth before switching out tear-offs.
- Before buying any tear-offs, make sure they fit your motorcycle goggles. It’s important to do this, as the wrong size will end up being completely useless.
- When you take tear-offs out of the stack, put them on a clean cloth, not on a dirty surface. This will help reduce scratches on your lens and give you a clearer view.
FAQs
1. Are Goggle’s Tear-offs Universal?
Unfortunately, tear-offs are not universal and will depend on the type of goggles you have. Each set of goggles is designed differently and has its unique design, shape, and size. This means that the tear-offs made for one set of goggles may not fit on another set.
2. What is the Difference Between Roll-Offs Vs. Tear-Offs?
Tear-offs and Roll-Offs are two different lens protection systems that can be used with goggles. Tear-offs are pre-cut and can be easily removed one at a time by peeling them off the lens. Roll-Offs are continuous strips of film attached to cylinders and can be unwound from the edges of the lens.


